How to Customize Engraved Metal Tags: Size, Hole Placement & Design Tips
Engraved metal tags are highly customizable to suit various industrial, commercial, and personal applications. Whether you’re labeling equipment, tracking assets, or creating branded nameplates, thoughtful design ensures your tags are functional, durable, and easy to install.
In this guide, we’ll cover the most important customization elements: size selection, hole placement, and design best practices — all essential for ensuring your tags meet both aesthetic and practical needs.
1. Choosing the Right Size
The size of your engraved metal tag affects both readability and functionality. Here’s how to choose:
✅ Consider the Application
-
Small Tags (e.g., 20×10 mm): Ideal for cable markers, key tags, small parts
-
Medium Tags (e.g., 50×25 mm): Best for asset tags, serial number plates
-
Large Tags (e.g., 100×50 mm or bigger): Used for equipment ID, warning labels
✅ Balance Text and Space
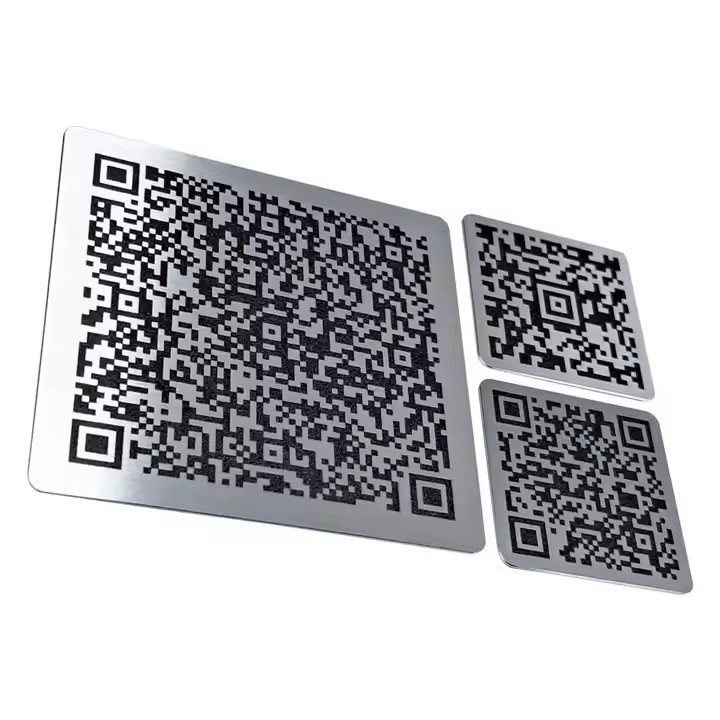
Leave enough space around the engraved text/logo to prevent visual clutter. For barcodes or QR codes, extra space ensures proper scanning.
✅ Thickness Options
Common thicknesses:
-
0.3–0.5 mm: Lightweight, ideal for adhesive backing
-
0.8–1.5 mm: Sturdy and durable for mechanical fastening
-
2.0 mm+: For heavy-duty use or raised installations
2. Hole Placement and Mounting Options
Engraved tags can be attached in multiple ways — via screws, rivets, cable ties, or adhesives. Planning hole size and placement helps streamline installation.
🔩 Standard Hole Configurations
-
Top-center hole: For hanging or chain mounting
-
Two-side holes: For screwing onto flat surfaces
-
Four-corner holes: For secure, flush installations
-
Custom slots: For zip-tie use or cable routing
📏 Hole Size Guidelines
-
2.5–3.5 mm: For small screws or rivets
-
4–6 mm: For zip ties or bolts
-
Customize based on your fasteners or fixtures
Pro Tip: Leave at least 3 mm between the hole and the edge of the tag to avoid tearing.
3. Engraving & Design Tips
🖋️ Font Size and Style
-
Use simple, readable fonts like Arial, Helvetica, or OCR-B
-
Keep font size ≥ 1.5 mm for laser; ≥ 2 mm for mechanical engraving
-
Avoid script or decorative fonts for technical applications
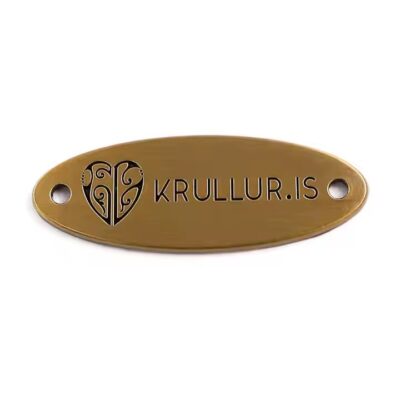
🎨 Logo or Symbol Placement
-
Place logos away from holes or edges
-
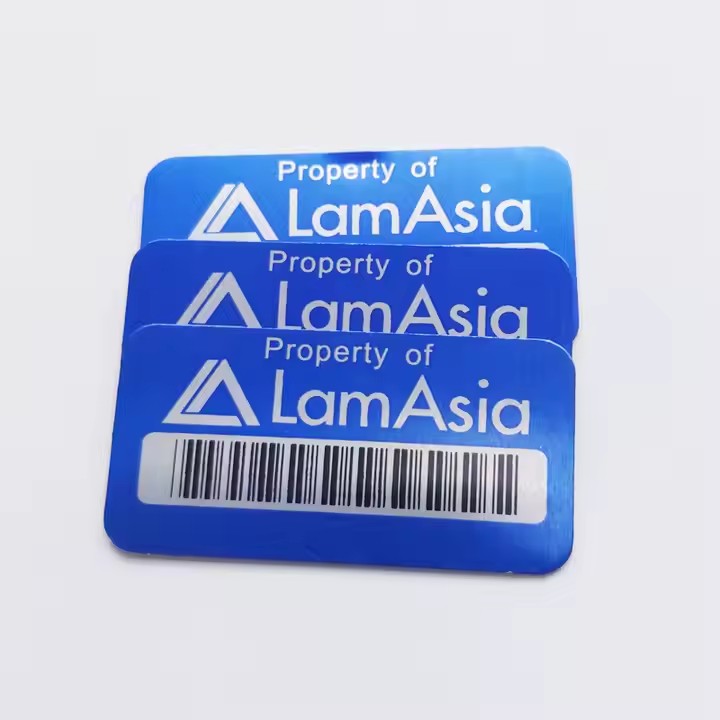
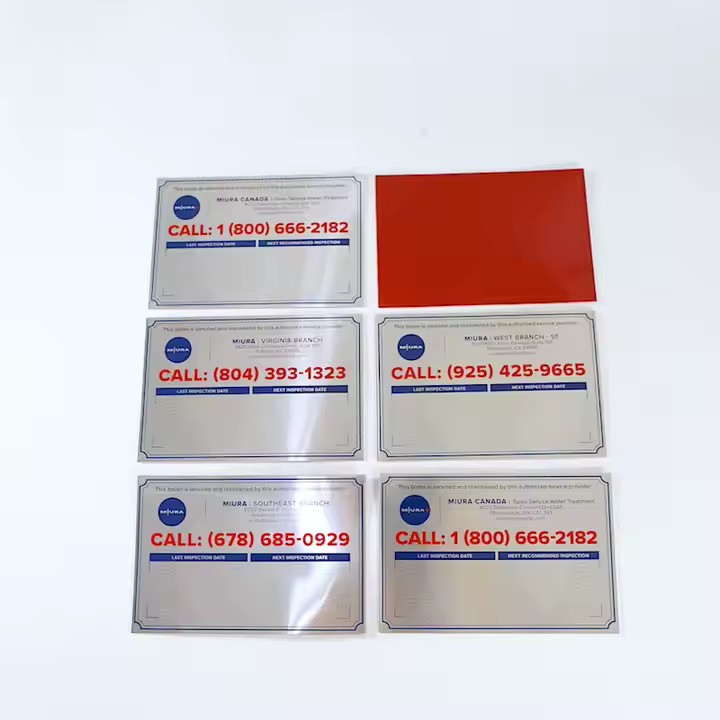
Use high-contrast engraving (e.g., black on silver aluminum)
🔠 Content Suggestions
-
Include serial numbers, asset IDs, date codes, barcodes, or contact info
-
Use consistent layout: [Title] + [Details] + [Code/QR]
4. Material and Surface Options
Choose a metal type that matches your application:
| Material | Benefits |
|---|---|
| Aluminum | Lightweight, anodizable, cost-effective |
| Stainless Steel | Durable, corrosion-resistant |
| Brass | Premium look, good conductivity |
| Copper | Antique aesthetic, conductive |
Surface Finishes: Brushed, anodized, polished, sandblasted
5. File Format & Artwork Submission
For custom tags, submit artwork in vector format:
-
Preferred: AI, EPS, DXF, SVG
-
Include all dimensions, hole size, and location
-
Outline all fonts and keep designs in 1 color for engraving
If needed, most suppliers (like us) can help you refine your file for production.
Conclusion
Customizing engraved metal tags involves more than just choosing a material. The right size, hole layout, and design directly impact usability, durability, and professional appearance. By following the above tips — and working with an experienced manufacturer — you ensure every tag serves its purpose perfectly.
Need help with your custom tag design? Contact us for free layout suggestions or quick samples.