How to Customize Aluminum Tags for Your Industry: A Step-by-Step Guide
Aluminum tags are a versatile and durable labeling solution widely used across industries—from manufacturing and electrical equipment to plant labeling and asset management. Customizing aluminum tags ensures they meet your specific operational needs and branding goals. Here’s a complete step-by-step guide to help you customize aluminum tags efficiently and effectively.
Step 1: Define the Purpose and Application
Before customization begins, identify where and how the tags will be used:
-
Indoor vs. outdoor
-
Exposure to chemicals, heat, or moisture
-
Permanent or temporary labeling
-
Compliance requirements (e.g., asset tracking, safety warnings)
This helps determine the required material grade, durability, and attachment method.
Step 2: Choose the Right Aluminum Material and Finish
There are several types of aluminum finishes:
-
Anodized Aluminum – Resistant to corrosion, great for outdoor use
-
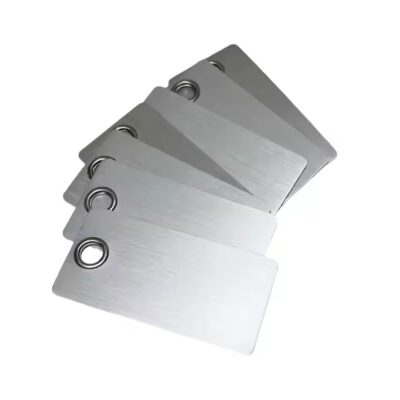
Brushed Aluminum – Aesthetic texture, commonly used in branding
-
Blank Aluminum – For simple or laser-marked tags
-
Colored Aluminum – Often used in safety, warning, or aesthetic labels
Consider thickness from 0.3mm to 2.0mm depending on environmental stress.
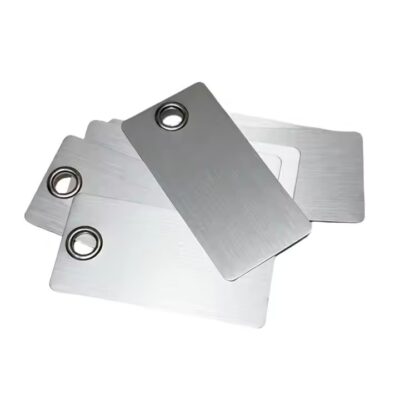
Step 3: Select the Shape and Size
Custom shapes are available:
-
Standard: rectangle, circle, oval
-
Custom die-cut: logo outlines, gears, tree markers, etc.
You’ll need to define:
-
Dimensions (e.g., 50x30mm, 100x20mm)
-
Edge types (rounded, sharp, beveled)
-
Hole placement for mounting or zip ties
Step 4: Decide on the Printing or Marking Method
Depending on budget and usage, choose:
| Method | Features | Use Case |
|---|---|---|
| Laser Engraving | Permanent, high-precision, fade-proof | Asset tags, ID plates |
| Screen Printing | Colorful, less expensive, not as durable | Promotional, indoor signage |
| Etching | Industrial-grade, anti-corrosion | Machinery, metal nameplates |
| UV Printing | High-resolution color printing | Decorative tags, branding |
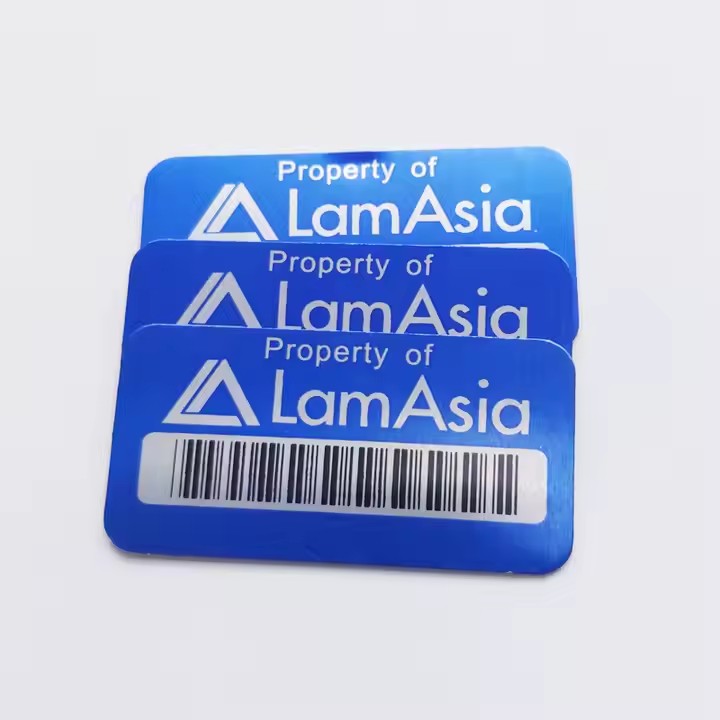
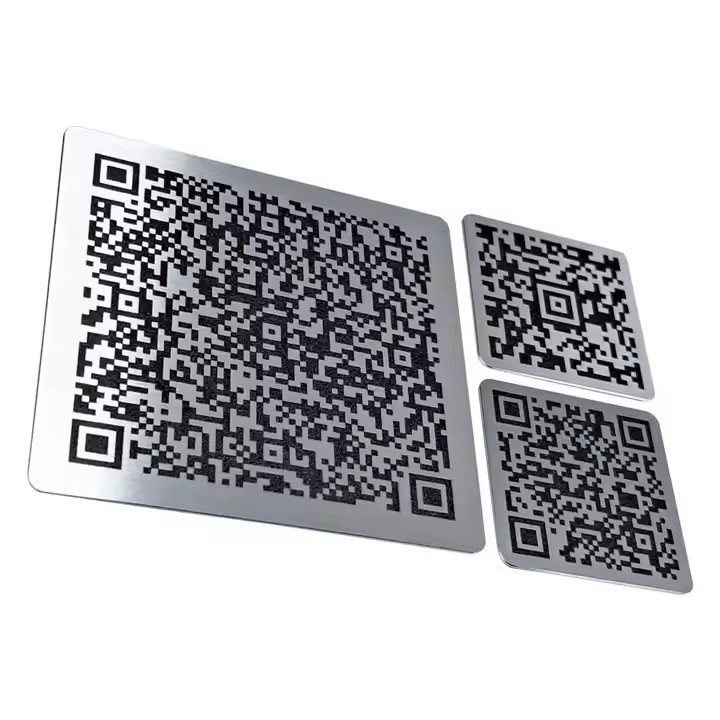
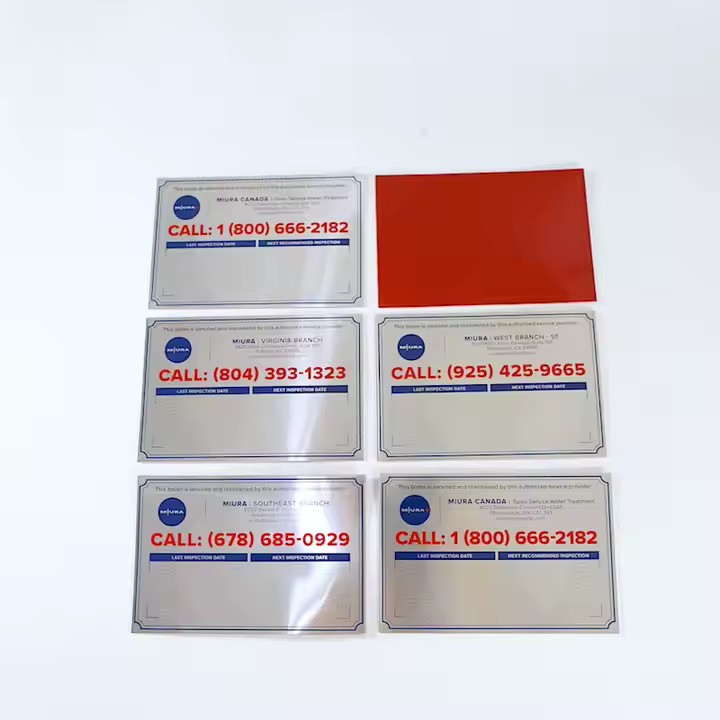
Step 5: Add Custom Information
Decide what you want on your tag:
-
Company name or logo
-
Barcodes or QR codes
-
Serial numbers
-
Safety or operating instructions
-
Custom color codes
Provide vector files (AI, SVG, or PDF) for logos or high-quality designs.
Step 6: Select Mounting Options
Choose how the tag will be installed:
-
Adhesive backing (e.g., 3M tape) – Quick and clean
-
Screw holes – Permanent attachment
-
Zip tie holes – Ideal for wires or trees
-
Magnetic backing – For movable applications
Step 7: Request a Prototype or Sample
Before placing a large order, request:
-
Digital proof or sample
-
Material swatches
-
Sample tag with full design and mounting
This avoids errors and ensures satisfaction with your custom design.
Step 8: Confirm Order Quantity and Delivery Timeline
Provide clear details:
-
Total quantity
-
Packaging method
-
Delivery address
-
Lead time expectations
Factory-based suppliers usually offer bulk discounts, and custom lead times range from 7–15 working days depending on complexity.
✅ Conclusion
Customizing aluminum tags doesn’t need to be complicated. With a clear understanding of your industry needs and the right supplier, you can get durable, professional-looking tags that serve both functional and branding purposes. Whether for factories, logistics, plants, or machinery, well-designed aluminum tags are a smart investment.