Custom metal labels are becoming increasingly popular in various industries due to their durability, sleek appearance, and high-quality finish. Whether you’re looking to create labels for your brand, products, or personalized items, metal labels offer a sophisticated and long-lasting solution. In this blog post, we will guide you through the entire process of creating custom metal labels to ensure high-quality results every time.
Step 1: Define Your Design Concept
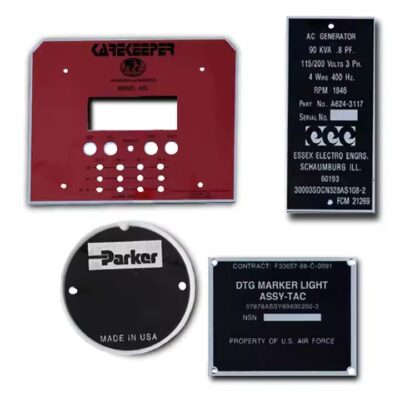
1. Design Content
The first step in creating custom metal labels is to decide on the content that will appear on the label. This could include:
-
Brand Name & Logo: Essential for branding and product identification.
-
Product Information: Serial numbers, model names, or any other relevant data.
-
Text & Slogans: Taglines, messages, or promotional text.
-
Graphics: Custom illustrations, icons, or images that represent your brand or product.
2. Choose the Right Design Tools
For creating a high-quality custom label, it’s important to use vector-based design software. Some popular choices include:
-
Adobe Illustrator
-
CorelDRAW
-
Inkscape
These tools ensure that your design is scalable without loss of quality, essential for achieving crisp and clean results on your metal label.
3. Design Tips
-
Keep It Simple: Metal labels work best with clear, simple designs. Avoid too many intricate details that might get lost during the engraving or printing process.
-
Font Selection: Choose fonts that are easy to read and scale well. Serif or sans-serif fonts tend to look the best on metal surfaces.
-
Leave Space: Allow for some breathing room around your text and graphics. This makes the design more visually appealing and avoids a cluttered look.
Step 2: Choose the Right Material and Finish
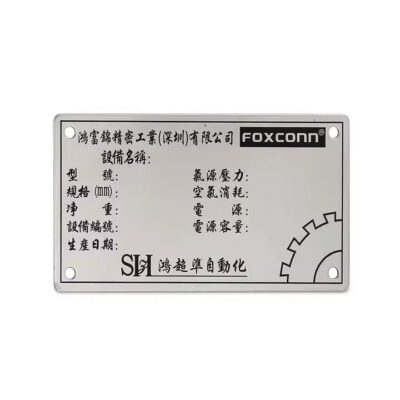
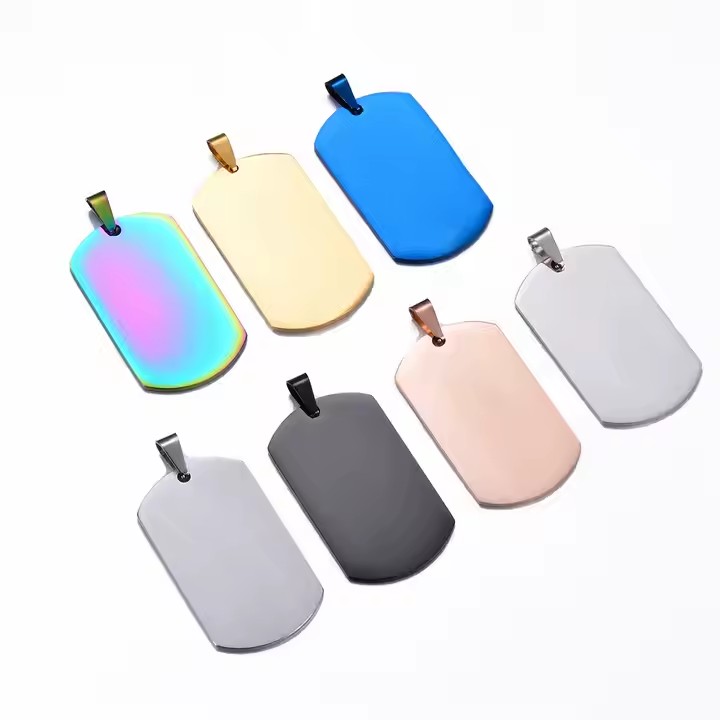
1. Metal Material Options
The material you choose for your metal label depends on the desired look, durability, and application. Some common options include:
-
Stainless Steel: Known for its strength and corrosion resistance, ideal for industrial and outdoor applications.
-
Brass: Provides a warm, elegant look and is often used for high-end custom labels.
-
Aluminum: Lightweight and cost-effective, aluminum is often chosen for product labeling.
2. Surface Finish Options
The surface finish of your label can significantly affect its appearance and durability:
-
Mirror Polished Finish: A shiny, reflective surface, often used for high-end products.
-
Brushed Finish: Provides a matte look that reduces fingerprints and offers a more industrial feel.
-
Acid Etching or Sandblasting: Creates a unique texture that enhances the label’s tactile feel.
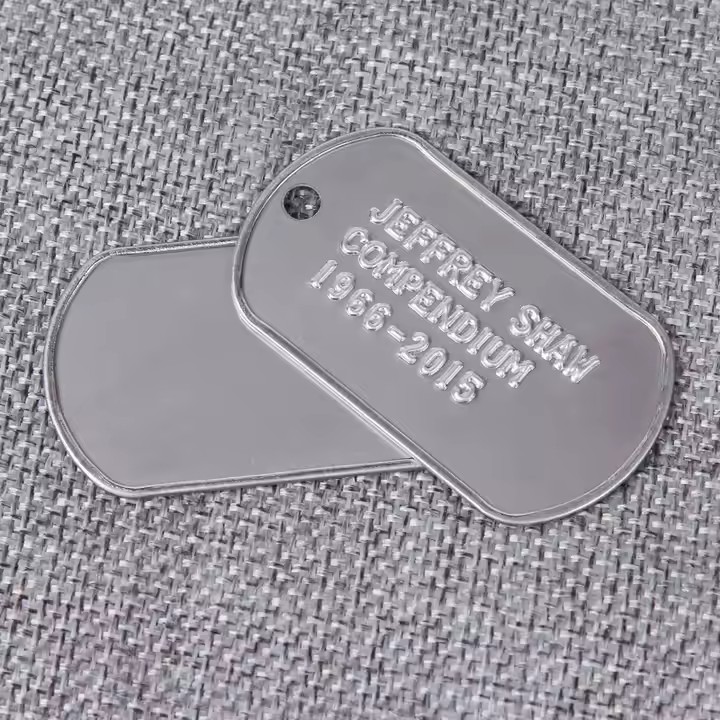
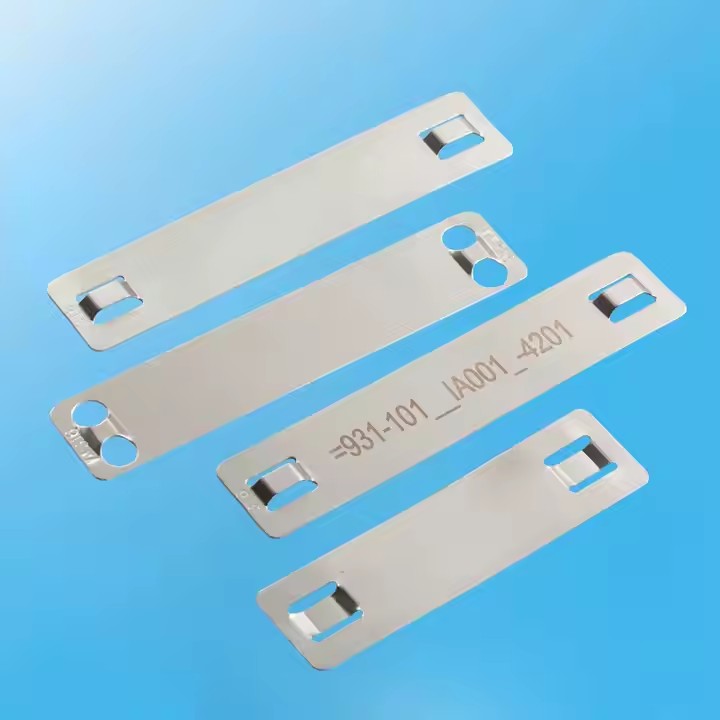
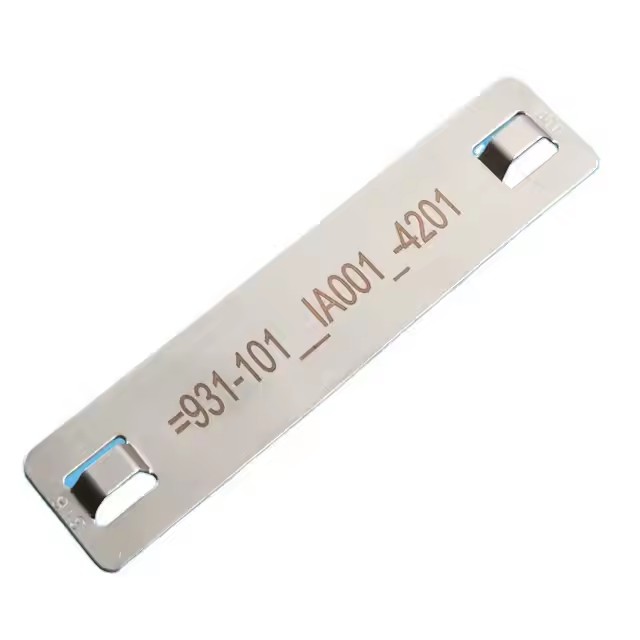
3. Printing Techniques
There are several techniques to apply your design to the metal surface. Some popular methods include:
-
Laser Engraving: Offers precision and durability, ideal for intricate designs.
-
Screen Printing or Pad Printing: Used for adding colorful designs or logos.
-
Stamping and Embossing: Adds texture and dimension to the label, often used for logos or brand names.
Step 3: Prepare the Artwork File
Once the design is finalized, you need to prepare your artwork for the production process. Be sure to:
-
File Format: Save your design as a vector file (AI, EPS, PDF). This ensures scalability and crisp lines.
-
Resolution: If your design includes raster images (such as photos), make sure the resolution is at least 300 DPI.
-
Color Mode: Use CMYK color mode for printing to ensure accurate color reproduction.
Make sure the design aligns with the specifications provided by the manufacturer, as this will ensure the best possible outcome.
Step 4: Find a Manufacturer
Choosing the right manufacturer for your custom metal labels is crucial to ensuring high-quality results. Here’s what to consider:
-
Experience: Look for a company with a solid reputation and experience in creating metal labels.
-
Samples: Ask for samples of their previous work to assess the quality of their products.
-
Pricing and Lead Time: Request quotes and timelines. Make sure the costs and lead times fit within your budget and schedule.
Step 5: Production and Quality Control
1. Prototype and Approve
After selecting your manufacturer, you’ll likely receive a prototype of the label. This sample is your opportunity to check the design, material, and overall quality. Be sure to:
-
Check for color accuracy.
-
Ensure the text is legible.
-
Evaluate the overall finish and texture of the label.
Once you’re satisfied with the prototype, you can approve it for full production.
2. Mass Production
With the design approved, the manufacturer will begin mass production. This process may involve:
-
Cutting the metal to the desired shape.
-
Engraving or Printing the design onto the metal surface.
-
Finishing the label with the desired texture or coating.
Make sure the manufacturer follows strict quality control procedures to ensure each label meets your specifications.
Step 6: Post-Production Finishing
Once the labels are produced, they may undergo additional post-production steps, including:
-
Cleaning and Polishing: To remove any production residue and ensure the labels shine.
-
Coating: Some labels may be coated to improve scratch resistance or enhance the durability of the design.
-
Assembly: If your labels are part of a larger product, they may need to be attached to the product using adhesives, screws, or other fastening methods.
Step 7: Installation and Maintenance
After your labels are produced, it’s important to properly install and maintain them:
-
Installation: Choose the correct method for mounting or adhering the labels to your products. Options include adhesive backing, screw mounts, or rivets.
-
Maintenance: To keep your labels looking fresh, periodically clean them with a mild detergent and soft cloth. Avoid harsh chemicals or abrasive materials that could damage the surface.
Final Thoughts
Creating custom metal labels is a straightforward process when broken down into clear steps. By focusing on the design, material selection, production process, and quality control, you can ensure that your custom labels are both functional and visually appealing. Whether you’re branding products or creating unique labels for personal projects, the right approach will give you high-quality results that stand the test of time.
If you’re ready to get started, don’t hesitate to reach out for professional advice or to request a quote. Let’s make your custom metal labels stand out with style and durability!